How to Elevate Your Spring Look with a DIY Cropped Hoodie
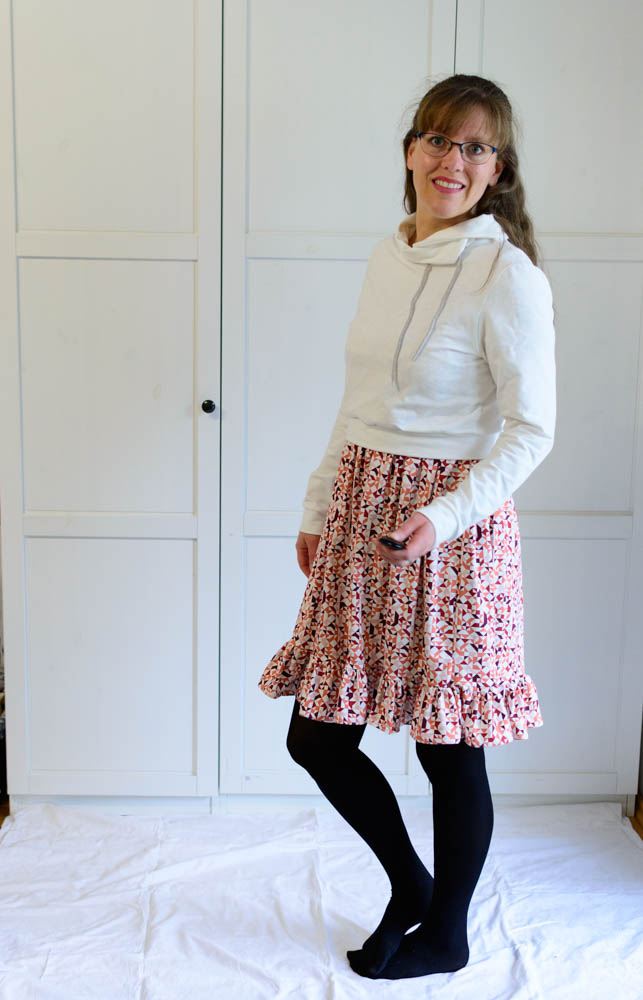
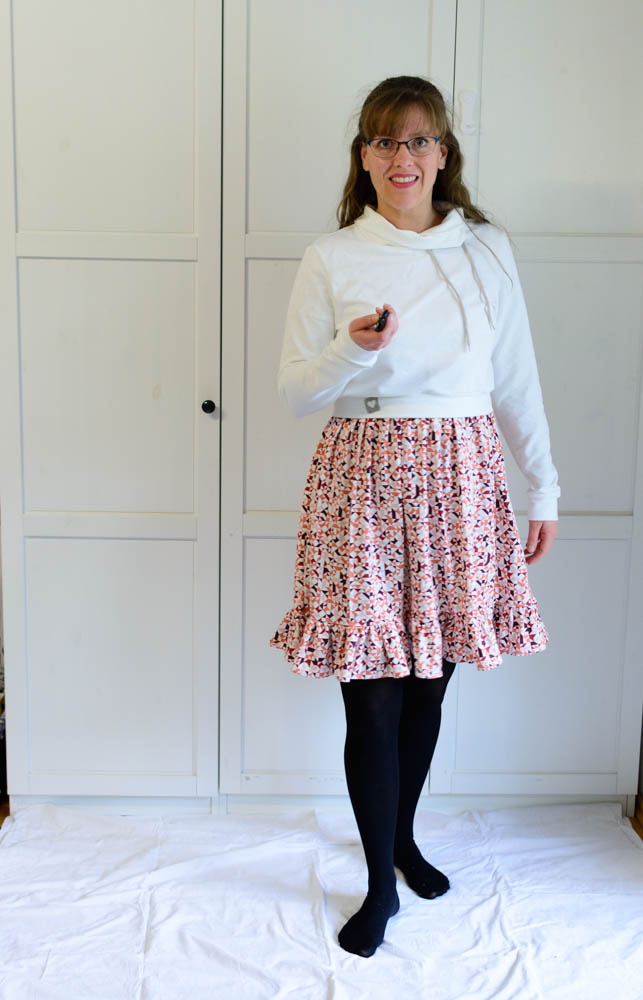
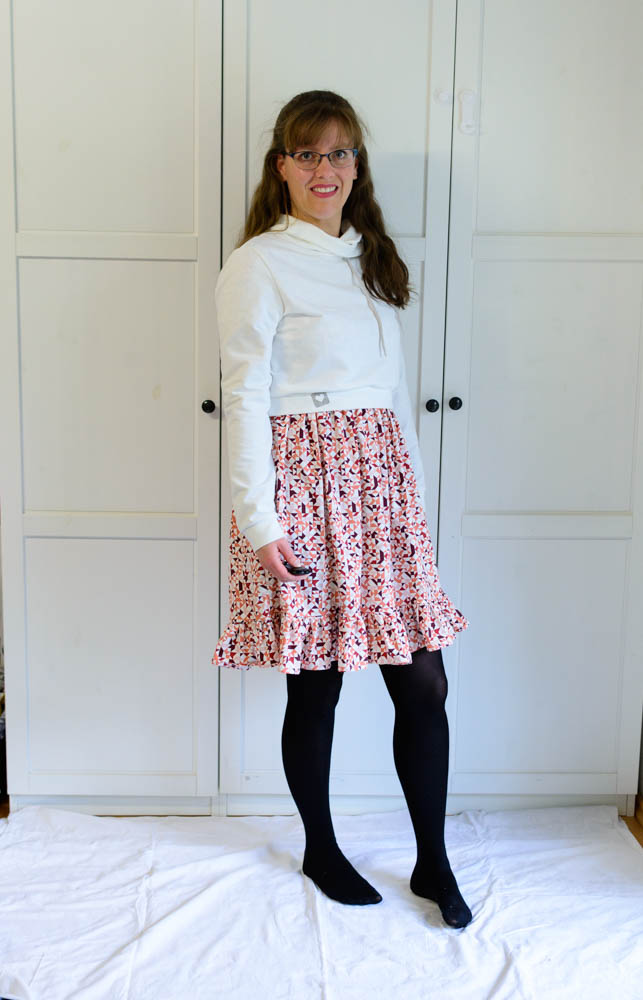
If you’re looking for a fashionable piece of clothing to take you through spring and the transitional months, consider a cropped hoodie. This stylish variation on a traditional hoodie is the perfect choice for women who want to combine casual comfort with feminine style.
The great thing about a cropped hoodie is that it also works perfectly over dresses, making your summer wardrobe wearable even on cooler days. With a little DIY know-how, you can make your own cropped hoodie from any hoodie pattern you own. In fact, I’ve made a tutorial just for you, so you can create a custom cropped hoodie that fits your style perfectly.
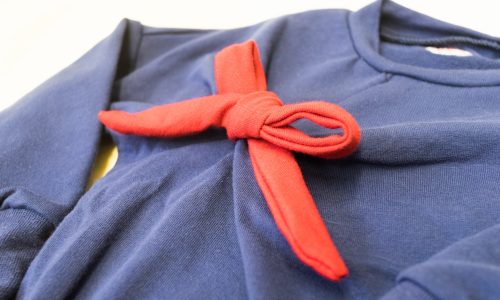
If you choose to make your own cropped hoodie, you’ll quickly notice that it’s not only comfortable and stylish, but it also adds an extra edge to your outfit, helping you stand out from the crowd. And the best part is that you can customize the fabric, color, and style to match your personal preferences.
Whether you prefer a DIY look or the latest fashion trends, a cropped hoodie is a versatile piece of clothing that belongs in every wardrobe. So why wait? Check out our tutorial and start your sewing project today!
Instructions for a Cropped Hoodie
Materials:
- Hoodie pattern of your choice (maybe Océane’s Pull or Susanne’s Pull)
- Fabric of your choice
- Scissors
- Sewing machine or needle and thread
- Measuring tape
Instructions:
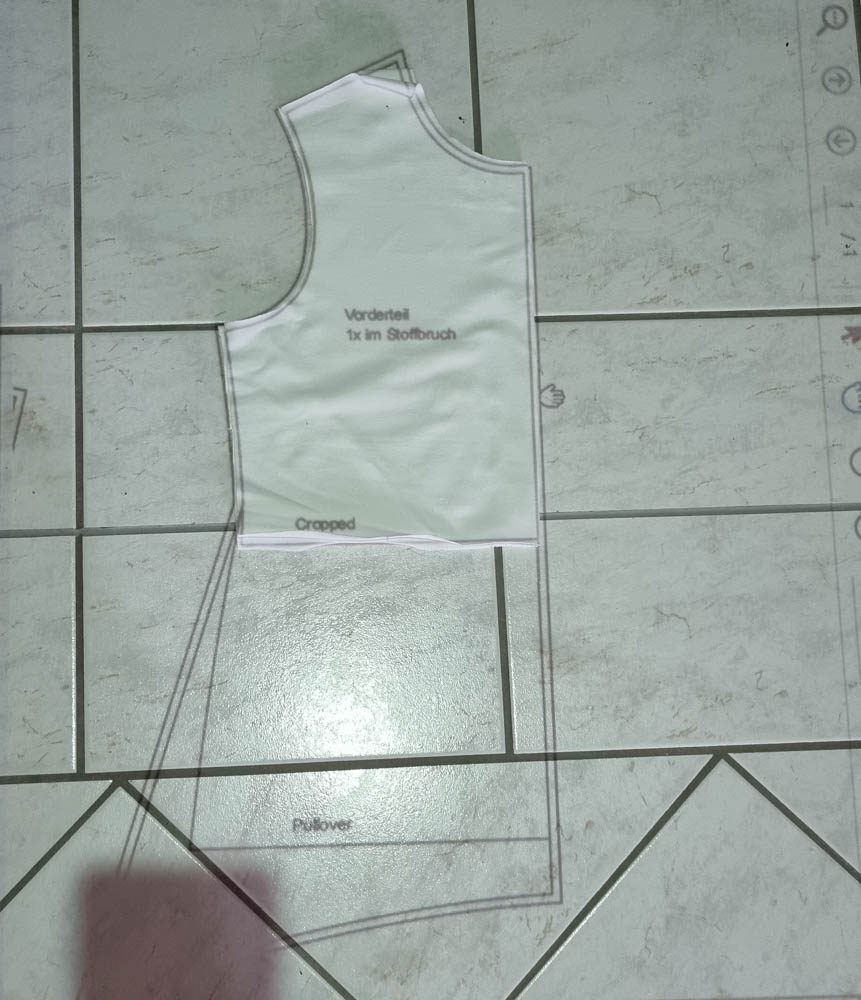
- Choose a hoodie pattern that you like and that fits your body well. You can find hoodie patterns in fabric stores, online, or even in thrift stores.
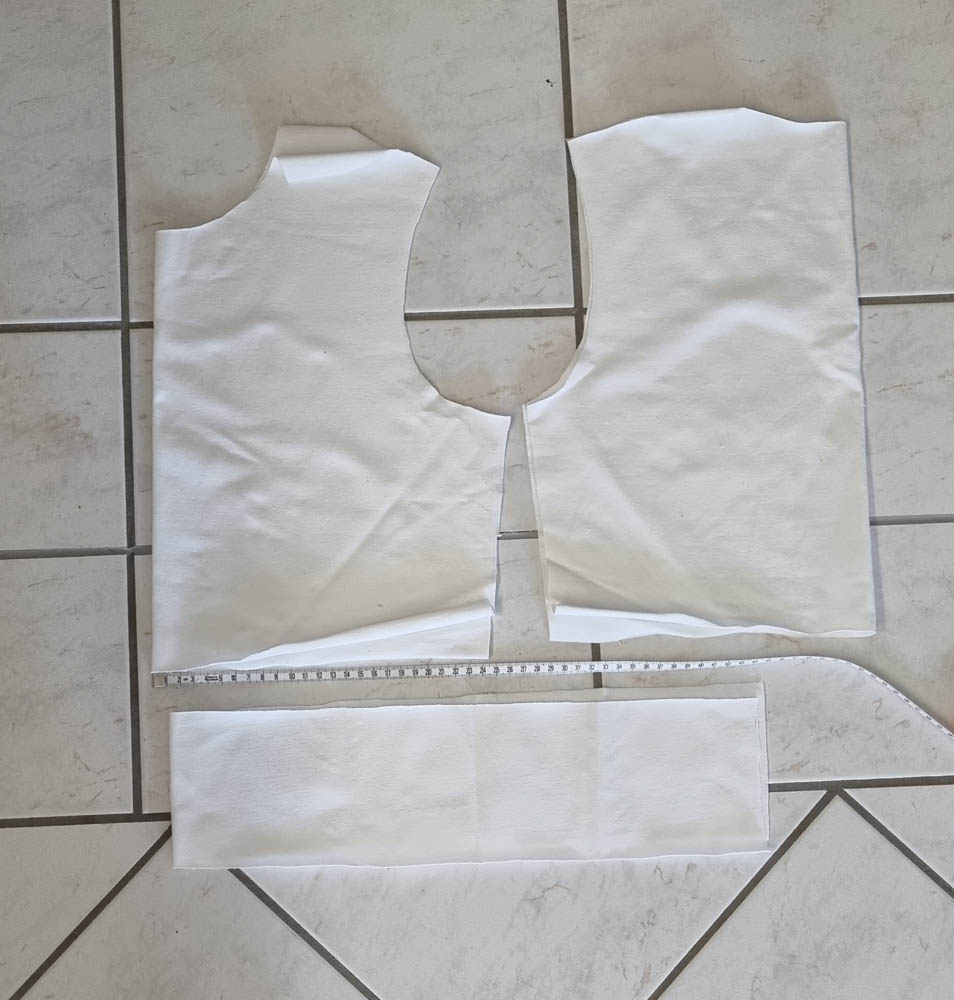
- Measure the length of the hoodie pattern from the shoulder seam to the bottom hem. Decide how much shorter you want your cropped hoodie to be and mark the new length on the pattern. Cut off the excess length of the pattern.
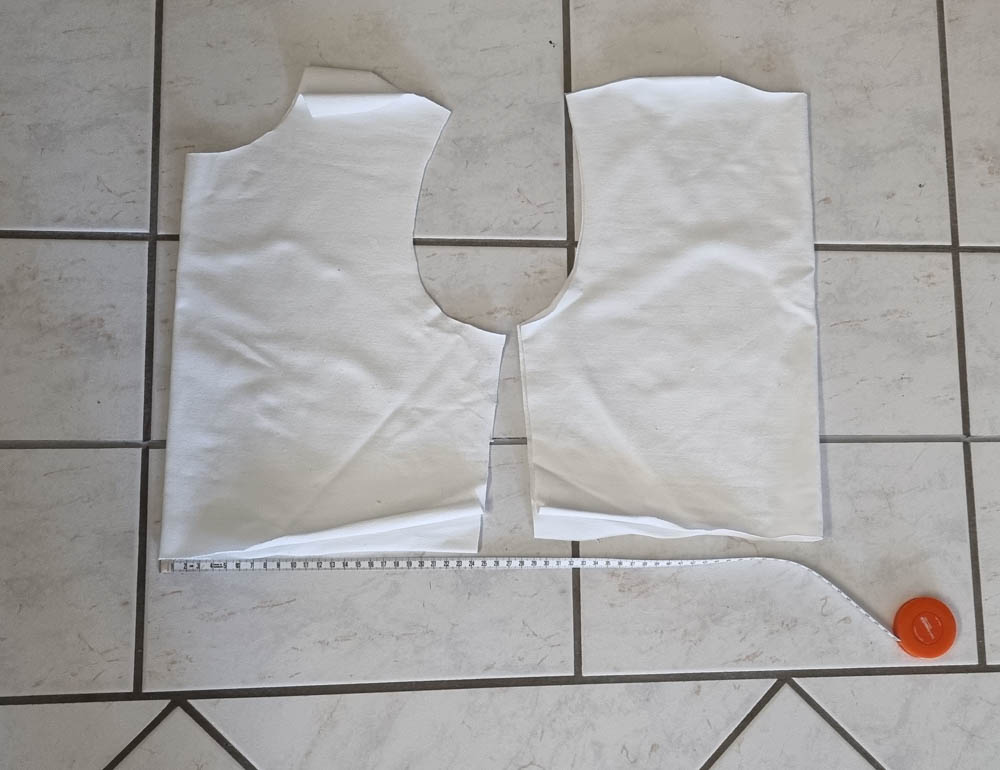
- Cut out the fabric according to the modified pattern. You will need two front pieces, two back pieces, two sleeves, and a hood.
- Sew the shoulder seams of the front and back pieces together. Then, sew the sleeves to the body of the hoodie.
- Sew the side seams of the front and back pieces, starting from the bottom and stopping at the armpit. Do this for both sides.
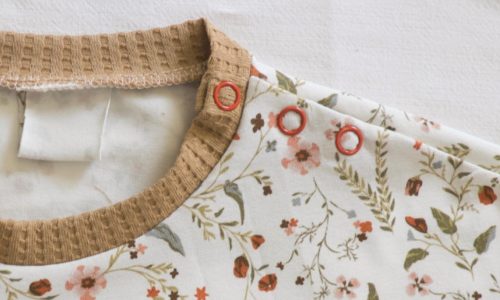
- With right sides facing each other, sew the hood pieces together along the curved edge. Then, attach the hood to the neckline of the hoodie, matching up the center back of the hood with the center back of the hoodie.
- Hem the sleeves to your desired length.
- Measure the circumference of the pattern waistline, adding the measurements of the front and back pieces of the hoodie pattern together. For example, if the front piece measures 49cm and the back piece measures 49cm, then the total circumference would be 98cm.
- Multiply the waistline circumference by 0.8 to determine the length of the waistband. For example, 98cm x 0.8 = 78.4cm.
- Does your result match with your own waist measurement? This result shall be slightly over your own waist circumference, around 3-5 cm above.
- Cut out the waistband according to the length calculated with a width of 12cm. Sew the short ends of the waistband together to form a loop.
- Pin the waistband to the bottom of the cropped hoodie, with right sides facing each other. Sew the waistband to the hoodie, stretching it slightly as you go to ensure a snug fit.
- As a last step you add the waitband at the bottom.
Try on your cropped hoodie and make any adjustments if needed.And there you have it – your very own custom-made cropped hoodie! With this simple DIY project, you can elevate your spring wardrobe and add a stylish and trendy piece of clothing to your collection.